Road salt affects more than 70% of America’s roads in snowy regions that receive over five inches of snowfall annually.
Winter roads covered in white stuff do more than make driving challenging — they silently destroy your car. Americans use 10 to 20 million tons of road salt yearly, causing billions of dollars in vehicle damage.
Road salt’s highly corrosive nature creates a serious problem. Your car’s exterior paint gradually deteriorates as salt particles stick to it. Rust spreads rapidly once it appears and can cause structural damage that leads to costly repairs.
New Hampshire’s 1938 experiment with granular sodium chloride to deice roads started this destructive pattern. Modern highways stay safer through this widespread practice, but your vehicle faces significant risks.
Your car can stay protected from salt damage. A protective barrier serves as the best defense against road salt’s corrosive nature. Your vehicle’s safety during winter months depends on regular washing and proper rust inhibitors.
We’ll demonstrate the exact methods to protect your car from salt damage, prevent rust, and maintain its appearance despite harsh winter conditions. Let’s explore practical solutions that will save your money and prevent future headaches.
How Salt Damages Your Car
Road salt might be winter’s unsung hero, but it’s your vehicle’s worst enemy. Those harmless-looking white crystals pack a destructive power that attacks your car throughout winter.
Why Salt Is Used on Roads
That gritty substance you see scattered on winter roads serves a purpose. Road salt, primarily sodium chloride mixed with other chemical additives, keeps our roads safe. It lowers water’s freezing point and turns dangerous ice into manageable slush.
Your car’s tires create friction when driving over treated roads. This friction heats the snow and creates water that dissolves the salt into a solution called brine. The brine’s freezing temperature stays lower than pure water, which stops ice from forming and keeps roads safer. Many cities now pre-treat their roads with salt-water mixtures before storms arrive.
Traditional rock salt remains the cheapest and most accessible de-icer we can use, even though some places add calcium and magnesium compounds to boost effectiveness. But this winter safety measure costs your vehicle dearly.
How Salt Accelerates Rust Formation
Salt’s ice-melting properties spell trouble for your car. It doesn’t cause rust directly, it acts more like a matchmaker between two troublemakers: oxygen and metal.
Rust forms through an electrochemical reaction where iron meets oxygen to create iron oxide. This process usually happens slowly. But add salt to the mix and you’ve got a rust party going.
Here’s what happens:
- Water from snow or ice puts oxygen and carbon dioxide in direct contact with metal parts
- Salt’s free-floating ions of sodium and chloride join the party
- This combination creates an electrolytic solution that speeds up corrosion
- Rust starts forming and eats away at metal components
Salt works like a catalyst, similar to pouring gasoline on a small flame. Once this process starts, salt and moisture will eventually break through your car’s protective layers and let rust take hold.
Parts of the Car Most Affected by Salt
Some areas of your vehicle take more damage than others:
- Undercarriage: This area takes direct hits from salted roads. You might not notice the damage until it becomes severe because it’s hidden from view.
- Brake system: Your brake lines, calipers, rotors, and pads face serious risks. Corroded brakes create real safety concerns.
- Exhaust system: Salt spray constantly hits your muffler and exhaust pipes.
- Body panels and wheel wells: These parts catch salt splashes straight from the road. The first rust spots often show up near door bottoms or around wheel wells.
- Suspension components: Rusty springs, shocks, and control arms lead to poor handling and a rough ride.
Salt damage follows a pattern: it builds up in hidden spots, moisture helps it stick to metal, and it eats through protective coatings over time. Small rust spots spread fast if left untreated.
Your warm garage might actually make things worse after driving on salted roads. It creates perfect conditions for salty slush to sit under your car and eat away at components.
Cars over eight years old face higher risks, according to the National Highway Traffic Safety Administration. Humid weather speeds up the rusting process.
Road salt leads to approximately $5 billion in annual vehicle repairs across the U.S. Protecting your car from this corrosive winter necessity helps preserve both your investment and safety.
Early Signs of Salt Damage to Watch For
You can save thousands in repair costs by catching salt damage early. Think of yourself as a detective who needs to spot the clues before they vanish, or spread throughout your vehicle’s body.
Rust Spots on Fenders and Wheel Wells
Salt damage usually shows up first around your wheel wells and fenders. Your tires kick up salty slush that hits these areas hard. The curved panels behind your rear wheels take constant splashes of water, mud, and road salt.
Watch out for these warning signs:
- Reddish-brown bubbles or patchy spots near metal trim
- Small brown spots, especially at the base of doors or wheel wells
- Rough texture when running your fingers along wheel well edges
The surface damage you see might be just the beginning. Rust attacks fenders from the inside out. A tiny bubble today could hide serious damage underneath. Rust spreads faster than you’d think if left untreated.
Grab a flashlight and crouch behind your car to get a full picture. Check the wheel arch areas closely, and don’t forget those tiny crevices where dirt and water build up.
Brake and Exhaust System Issues
Salt spray constantly attacks your car’s brake and exhaust systems, even though you can’t easily see them. These parts send clear distress signals when salt starts its destructive work.
Your car might suddenly sound like a monster truck — that’s a big red flag. Holes in the exhaust from salt corrosion could be the cause. Salt-laden slush hits the undercarriage components directly, making the frame, suspension, and axles especially vulnerable.
Keep an eye out for:
- Reduced fuel efficiency because corroded exhaust makes engines work harder
- Visible rust on brake rotors and mufflers
- Small leaks in the exhaust system
- Unusual discoloration on metal components
These signs demand immediate attention. Salt can eat through metal fuel lines and brake lines, which leads to dangerous leaks and compromised braking. This goes beyond cosmetic issues — your safety hangs in the balance.
Paint Bubbling or Chipping
Your car’s paint serves as its first defense against salt damage. Corrosion moves quickly once this barrier breaks down.
These signs spell trouble:
- Paint that’s cracking or bubbling, especially on siding or trim
- A chalky feel on the surface means the paint binders are failing
- Blistering or bubbling paint shows trapped moisture and salt underneath
- Discolored or faded patches in areas that face sun and wind
Salt makes its first obvious appearance on flat, horizontal body panels like the hood, roof, and trunk. These surfaces create natural shelves where salt particles collect. The undercarriage, wheel wells, and spots where metal body parts meet need careful inspection too.
Salt crystals that settle into scratches or unprotected areas start breaking down the surface. Small blemishes do more than hurt your car’s looks — they let moisture and harmful substances seep in and speed up corrosion.
A simple fix now beats major repairs later. Regular checks remain your best defense against salt’s quiet attack.
Washing Your Car the Right Way
Regular car washing serves as your best defense against winter’s salty assault. Just like brushing teeth prevents cavities, washing your car stops corrosion before it starts.

How Often to Wash in Winter
Your car needs more frequent washing in winter than summer. The standard bi-weekly wash won’t cut it — experts say you should clean your car every 10 days during snow season. Drivers in areas with heavy salt use should wash their cars every 5–7 days.
“The salt can’t wait” becomes your winter motto. A light coating of road salt starts damaging your clear coat within days. You should schedule a wash right after each winter storm. This isn’t being picky — you’re protecting your investment.
Local car wash subscriptions can save you money on frequent winter washes. Think of this as cheap insurance against costly rust repairs later.
Two-Bucket Method Explained
The two-bucket method isn’t just for car enthusiasts — it’s basic rust prevention. This technique helps avoid scratching your paint with the salt particles you want to remove.
Here’s how it works:
- Bucket One: Fill with car wash soap and water
- Bucket Two: Fill with clean water only
- Wet your wash mitt with soapy water from bucket one
- Wash a section of your car
- Rinse your mitt in bucket two to remove dirt and salt
- Wring out the mitt and return to bucket one for more soap
This method keeps grit from returning to your car’s surface. Grit guards at the bottom of both buckets offer extra protection. These plastic screens trap debris below and keep your mitt cleaner.
Start at the top and work down in straight lines, cleaning one panel at a time. Clean the dirtiest areas — usually lower panels — last to avoid spreading salt onto cleaner surfaces.
Why Undercarriage Cleaning Matters
Your car’s undercarriage takes the worst salt spray yet remains hidden during normal checks. This area often faces the worst corrosion.
The undercarriage contains vital parts like brake lines, transmission systems, and exhaust components. Salt buildup here traps moisture against metal surfaces, creating ideal conditions for rust to accelerate.
Car washes charge a few extra dollars for undercarriage cleaning. This small cost proves worthwhile throughout winter. Make this service mandatory, not optional, during salt season.
Look for car washes that offer dedicated undercarriage spray services or use a special spray tool at home.
Best Time of Day to Wash Your Car
The timing of your car wash matters more than most realize. Washing in below-freezing temperatures creates new problems.
Aim to wash your car in early afternoon when temperatures rise above 40°F (4.4°C). This lets your car dry naturally before evening temperatures drop and freeze leftover water.
Summer washing works best in morning or evening hours, since soap dries too fast in direct sunlight, leaving spots and streaks.
Wait a day after roads get fresh salt before washing. Salt concentration peaks at this time, and washing spreads it across your vehicle. Let road crews clear excess salt first.
These washing practices will help your car last longer and look better, even in harsh winter conditions.
Protecting Your Paint and Finish
A protective shield on your car’s paint gives you the best defense against winter’s salt assault. It’s like putting a warm coat on your car before sending it out into a blizzard.
Benefits of Waxing Before Winter
Cars need more than just regular washing to be ready for winter — they need armor. Quality car wax creates an invisible barrier between your paint and harsh winter elements. This protective layer guards against road salt, ice, snow, and acidic precipitation that could damage your finish.
The science is simple: wax combines natural oils and polymers to create a sacrificial layer over your paint. Salt attacks this surface instead of your clear coat. This barrier also helps prevent scratches from road debris and keeps your vehicle looking good through the tough season.
The timing of pre-winter waxing makes a big difference. You should apply wax before temperatures drop below freezing because cold weather makes it very hard to apply and buff properly. A good wax can protect your car for 4–6 weeks, but you’ll need to apply it more often if your car stays outdoors most of the time.
Waxing gives you more benefits than just salt protection:
- Makes a water-repellent surface that stops moisture damage
- Keeps your paint shiny despite harsh conditions
- Makes cleaning easier because dirt and grime don’t stick as much
- Helps keep your car’s resale value
Ceramic Coating vs. Wax
Wax has been the go-to choice for decades, but ceramic coatings are the next step up in paint protection. The biggest difference? They last longer and bond better.
Wax just sits on top of your paint, but ceramic coating forms a chemical bond with your clear coat. This key difference explains why wax lasts weeks, while ceramic protection can last for months or even years.
Ceramic coatings guard better against UV rays, which can damage paint even during winter. They’re also better at repelling water and contaminants, so your car stays cleaner longer.
Car enthusiasts love the classic warm, deep shine that traditional wax creates. It works great for show cars or vehicles that don’t face the elements much. Ceramic coatings give you a glossy, reflective finish that lasts much longer, perfect for daily drivers that face lots of salt.
The cost and complexity are quite different too. Wax is cheap and easy to put on at home. Professional ceramic coating installations give you the longest protection but can cost thousands of dollars and leave your car in the shop for several days.
How to Apply Ceramic Spray Coatings
DIY ceramic spray coatings give you a middle ground between regular wax and professional ceramic treatments. These products protect longer without being too hard to use or too expensive.
Here’s a simple way to get the best results:
- Start with a perfectly clean surface – Wash your car well and remove any contaminants with a clay bar or mitt. Any dirt left behind will get sealed under the coating.
- Prepare the surface – Use good polish to fix minor scratches, then clean with a surface prep spray that gets rid of old wax, sealants, and oils.
- Apply in small sections – Work on 2’x2′ areas and put a few drops of ceramic spray on your applicator pad. Don’t use too much, extra product causes streaking.
- Buff immediately – After you apply to each section, buff with a clean microfiber towel before the product dries completely.
- Allow proper curing – Keep your freshly coated car in a covered, dry area for 24–48 hours. This waiting time helps create a strong protective bond.
You should apply ceramic coating in fall before temperatures regularly drop below 65°F. This timing lets the coating bond properly and gives your car the most protection before salt hits the roads.
Undercarriage Protection Techniques
Your vehicle’s underbelly takes the worst salt damage but gets the least attention. You need specific techniques to protect this vulnerable area from winter’s corrosive elements.
What Is Undercoating and How It Works
Undercoating is a protective layer that shields your vehicle’s undercarriage from moisture, salt, dirt, and other harmful road elements. This defensive barrier keeps your car’s metal components away from rust-causing corrosive substances.
You could call it a raincoat for your car’s most vulnerable areas. The coating seals metal surfaces and stops moisture from touching critical parts. Quality undercoating does more than just prevent rust:
- Makes your ride quieter by reducing road noise and vibrations
- Makes your vehicle last longer
- Keeps your resale value high
- Shields vital components like brake lines and fuel lines
Salt damage hits your vehicle’s underside the hardest because these areas stay exposed and are tough to clean after winter drives. Your undercarriage contains critical systems like the engine, brake lines, and fuel lines — parts that can become serious safety hazards once salt damages them.
When to Apply Undercoating
The right timing makes a huge difference with undercoating. The best time to add this protection comes before any salt touches your vehicle. Summer or spring months work best for undercoating because roads stay dry and free from salt residue.
“The best time to apply an undercoating to a car is when the car is new,” note experts at NH Oil Undercoating. This lets the coating stick to clean surfaces and creates the strongest protection possible. Older vehicles still benefit from treatment, just know that existing rust needs different handling than clean metal.
People living in harsh winter regions should reapply yearly. Milder climates might let you wait three years between applications. Your driving patterns also matter:
- Off-road enthusiasts: New coat every 1–2 years
- Coastal drivers: Every 1–2 years (whatever other factors)
- New cars (under 5 years): Every 3–5 years
- Older vehicles (over 5 years): Every 2–3 years
Rubberized vs. Oil-Based Undercoats
You’ll find two main options in the undercoating market, each with unique benefits for different situations.
Rubberized undercoating creates a thick, tough barrier that hardens like rubber. This type:
- Fights water and corrosion effectively
- Takes impacts and scrapes well
- Cuts down road noise
- Lasts 3+ years with good prep work
New vehicles without rust do great with rubberized coatings. These products stick well to clean surfaces and don’t need yearly touch-ups.
Oil-based undercoating works differently. These products stay liquid, keeping their ability to spread and penetrate. They offer these advantages:
- Get deep into seams, cracks, and hidden spots
- Push out moisture and block oxygen (both needed for rust)
- Fix themselves if scratched
- Spread 4–6 inches to protect inner body spaces
Oil-based products need yearly touch-ups but work better for vehicles with light rust or inner body spaces where water collects.
Your vehicle’s current state should guide your choice. Both options work well for new, rust-free cars. Older vehicles with early rust do better with oil-based products because they get through corrosion to reach good metal. Some experts suggest using both — oil treatments for hidden spots and rubberized coating for exposed undercarriage parts.
Keep in mind that proper application matters just as much as product quality. Bad undercoating can trap moisture against metal and speed up rust instead of stopping it. Professional application might be worth the cost to get the best protection from winter salt damage.
Advanced Protection: PPF and Vinyl Wraps
Paint Protection Film (PPF) or vinyl wraps serve as the ultimate shield against salt’s corrosive assault. These premium protective solutions defend your vehicle better than traditional methods.
What Is Paint Protection Film (PPF)?
PPF works as a thermoplastic urethane film that protects painted surfaces from stone chips, bug splatters, and minor abrasions. Your car’s exterior gets invisible armor through this transparent layer. High-quality PPF creates a virtually undetectable barrier between your paint and harsh winter elements, with thickness ranging from 6-8 mil.
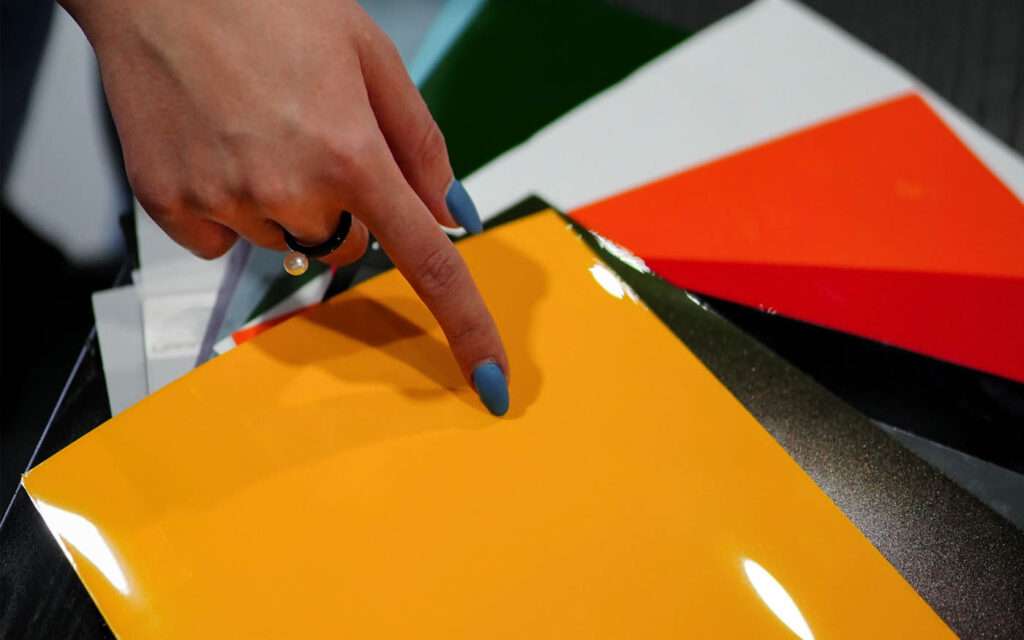
Modern colored PPF technology amazes with its self-healing properties. Light scratches simply disappear when exposed to warm water or sunlight. This remarkable feature helps your car stay pristine even after battling road salt and debris.
Advantages of PPF Over Wax or Ceramic
PPF stands out from other protection methods in several ways:
- Superior physical protection – PPF excels at defending against rock chips and abrasions, while ceramic coatings or wax only resist chemical contaminants.
- Exceptional longevity – Professional-grade PPF lasts 5–10 years. That’s nowhere near what wax (weeks) and ceramic coatings (1–2 years) can offer.
- Self-healing capabilities – Heat application makes minor scratches vanish, which keeps your car flawless throughout winter.
- Complete protection package – PPF shields against UV rays and prevents paint fade over time, beyond just salt defense.
Winter warriors love PPF’s resistance to road salt. The film blocks salt crystals from touching your paint and stops corrosion before it starts.
PPF Installation Services by ID Protection
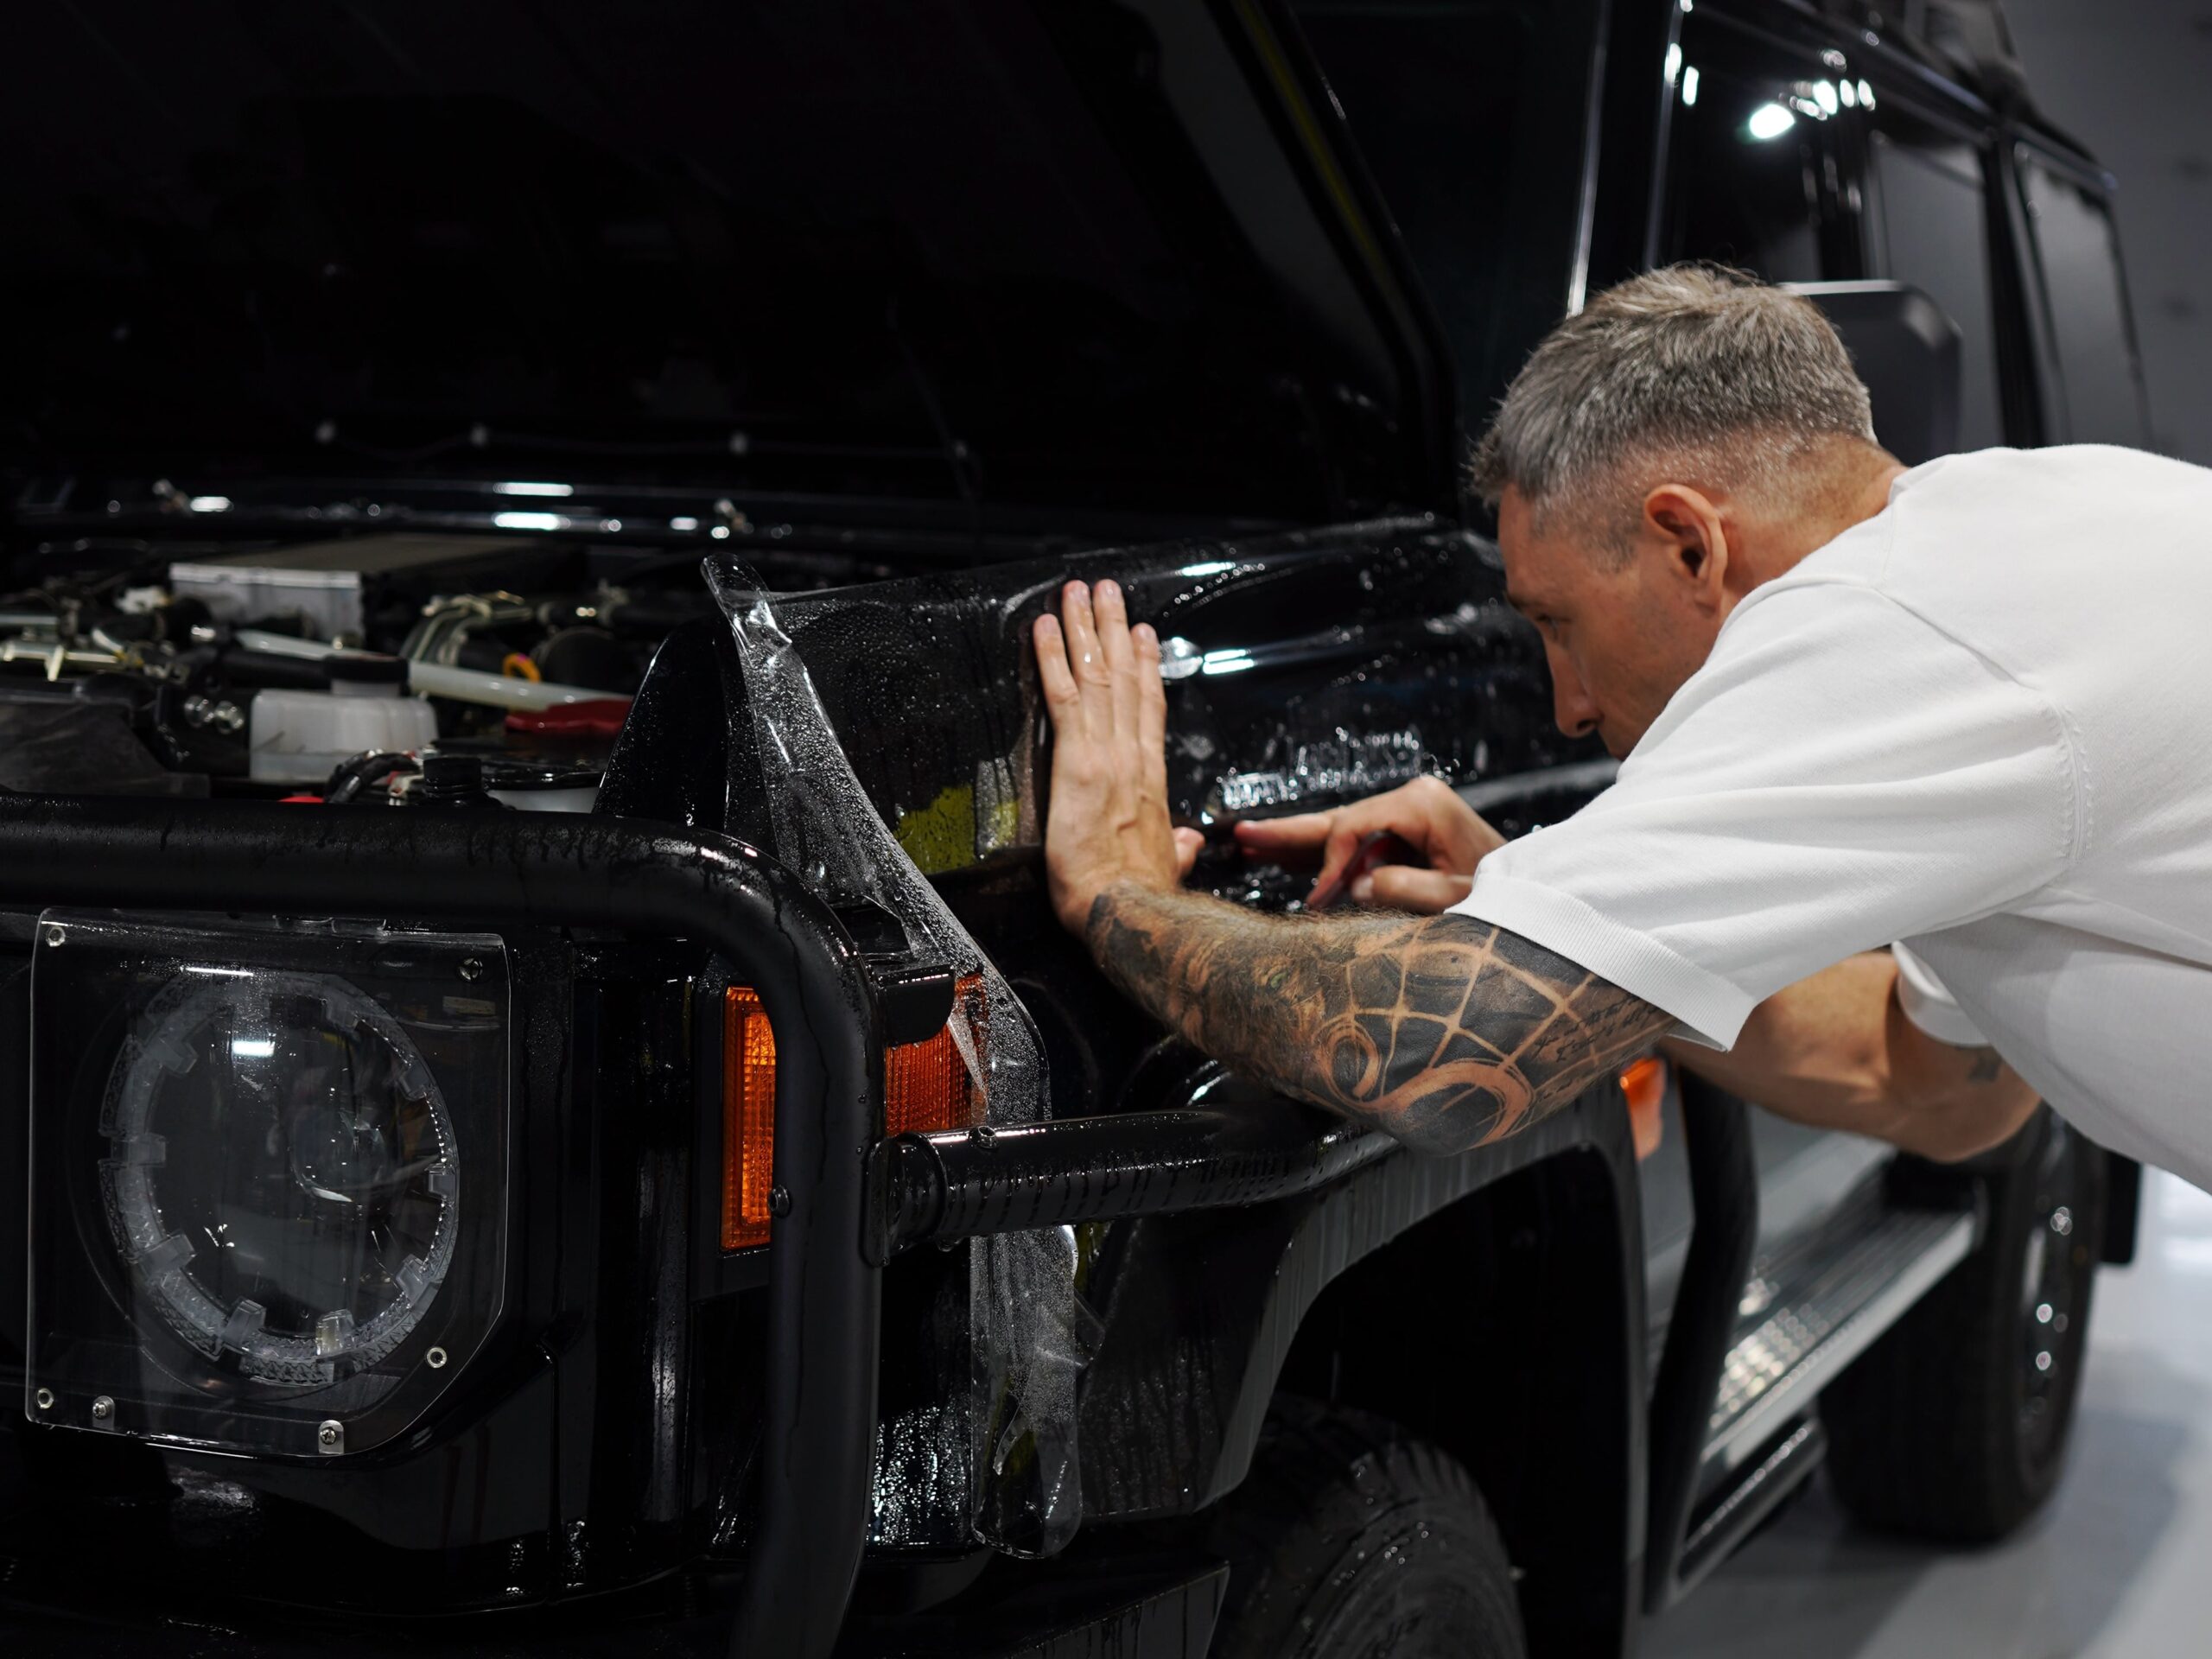
The quality of PPF installation makes a huge difference. Authorized installers use computer-cut patterns made for your specific vehicle model to ensure a perfect fit. These pre-cut patterns shield high-impact areas like hoods, fenders, mirrors, and bumpers – the spots where salt damage usually hits first.
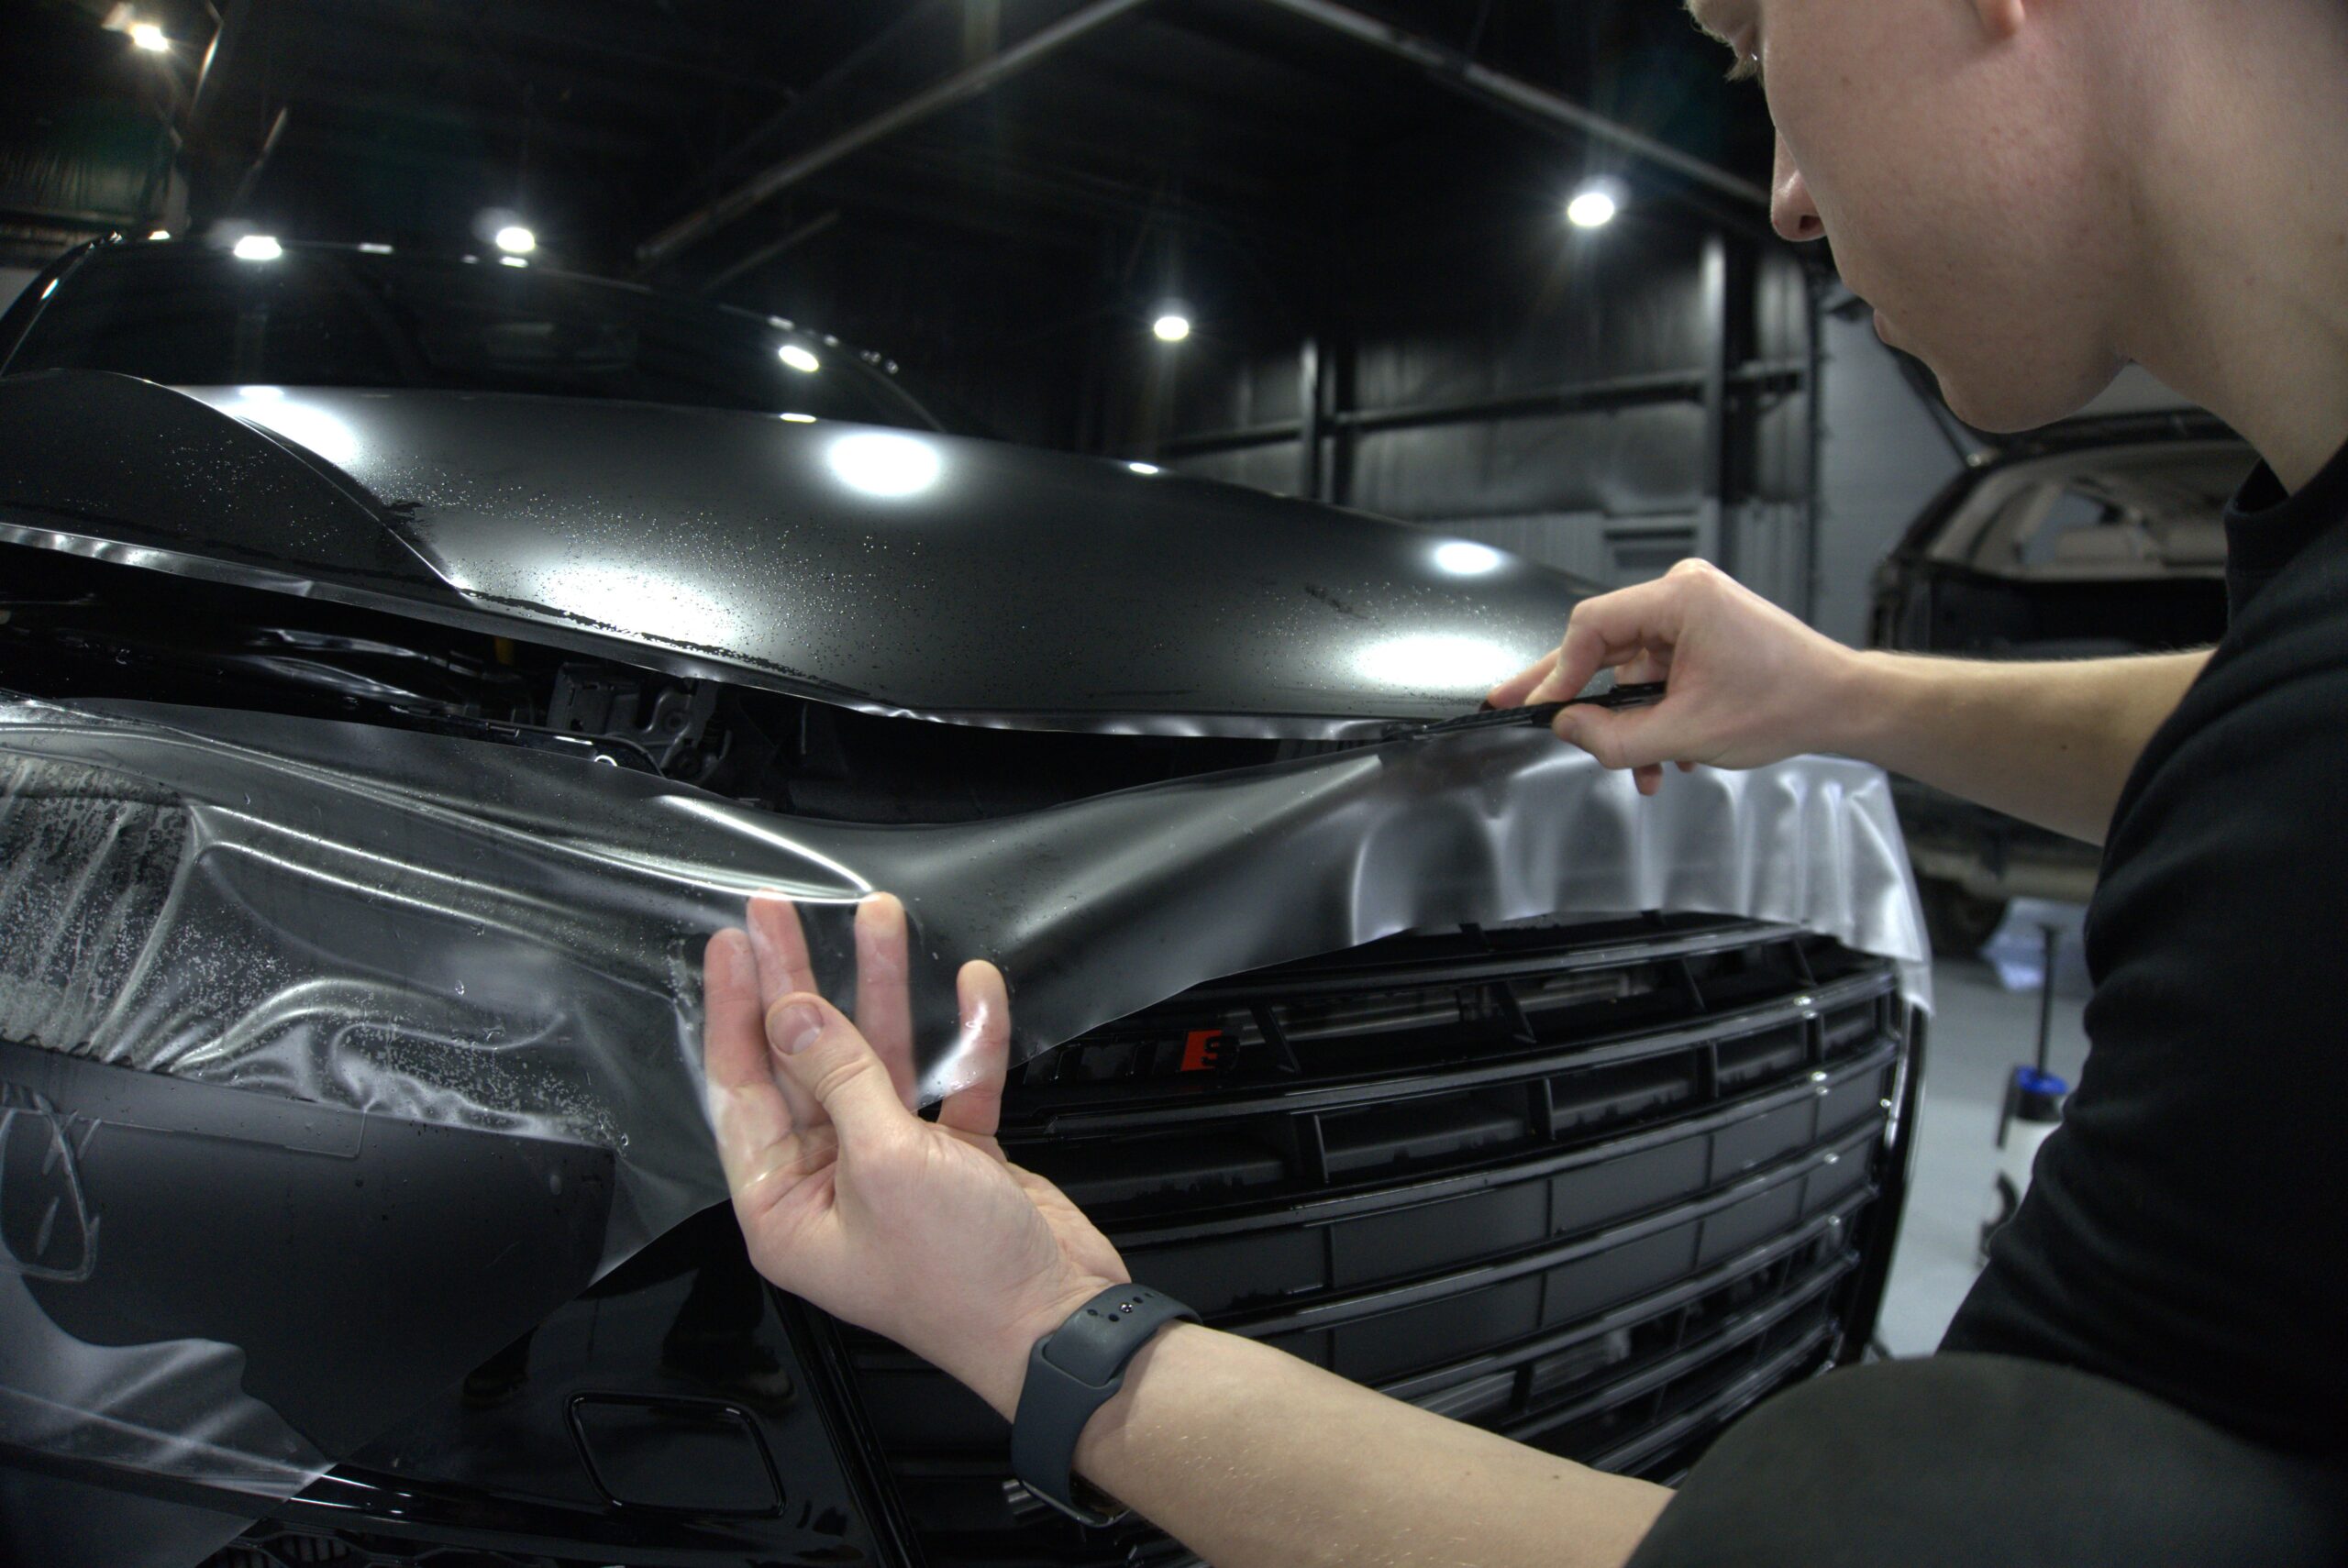
A typical installation takes 3–6 hours, based on the coverage area. Most vehicle owners choose “full front” protection packages that guard the most vulnerable areas from salt spray.
The best installers come with certification from major manufacturers like 3M. Their Preferred Installers learn through hands-on training and prove their skill with the latest techniques. This expertise results in seamless application and proper adhesion that prevents film issues.
Note that a properly applied PPF creates an invisible barrier. Your car’s original appearance stays intact while getting years of salt protection.
Smart Driving and Parking Habits
Your winter driving habits play a crucial role in protecting your car from salt damage. Even the best protection products won’t help if your vehicle faces constant exposure to concentrated salt.
Avoiding Puddles and Slush
Road puddles act like salt soup that splashes onto your car’s undercarriage. This salty water creates perfect conditions that speed up corrosion.
Puddles create more than just salt damage — they cause hydroplaning. Your tires lose contact with the road because of water buildup, which makes your car slide similar to driving on ice. This dangerous situation happens at speeds as low as 35 mph.
When you see puddles ahead:
- Change lanes safely if possible
- Slow down gradually before reaching the water
- Keep a firm grip on the steering wheel without sudden movements
- Press the brakes gently — sudden braking leads to skids
Why Not to Drive Right After Snowstorms
Fresh salt reaches its highest concentration right after roads receive treatment with de-icing chemicals. This makes it the riskiest time to drive your car.
Roads become dangerous during peak storm times when snowplows and salt spreaders work actively. Flying debris from these operations might damage your vehicle immediately.
Driving behind plow trucks exposes your car to fresh salt mixture blasts. Snowy conditions require extra distance between vehicles to minimize salt spray damage to your car.
Benefits of Garage Parking
A Wall Street Journal survey reveals that 74% of homeowners rank parking as their garage’s most important function. Yet clutter often prevents them from using it properly.
Your car stays protected from ongoing salt exposure in a garage. Salt residue continues attacking vehicles left outside even after roads dry up. Car covers provide a good alternative for people without garages.
Heated garages spark some debate — they block direct salt but might speed up rust-causing chemical reactions if salt already exists on your vehicle. The answer? Give your car a good wash before parking it in a heated garage.
Routine Inspections and Maintenance
Even the best prevention methods can’t stop all salt damage. Regular inspections help catch problems early and save you thousands in potential repairs.
Checking for Rust Under the Car
Hidden corrosion starts long before visible damage appears. You should really check your vehicle’s underside, with special attention to weld areas where drain holes exist in the doors, quarters, and rocker panels. These spots are usually the first to show rust.
A small screwdriver can help you gently probe any bubbling paint to reveal the true extent of corrosion. You should also pull back carpeting to check floorboards since salt enters the cabin on your shoes. Note that visible rust often points to ten times more damage in areas you can’t see.
Inspecting Brake Lines and Suspension
Brake lines are constantly exposed to salt, which makes them very vulnerable to corrosion. Regular checks help catch problems before they become safety hazards. Watch for signs of rust or discoloration on these vital components.
Salt damage can weaken your car’s structural integrity through the frame, suspension, and axles. Professional inspections like a 72-point check are a great way to get peace of mind by spotting problems before they worsen.
Touching Up Chipped Paint
Small chips can quickly turn into rust spots when left untreated. Here’s the quickest way to touch up these areas:
- Clean really well with soapy water
- Apply denatured alcohol to remove wax and grime
- Add primer to the chip
- Apply matching touch-up paint in thin layers
- Finish with polishing compound
This basic maintenance keeps your car looking good and prevents repairs from getting pricey.
Conclusion
Salt damage silently attacks your vehicle throughout winter, causing billions in damage nationwide each year. Your car needs protection on multiple fronts. Taking action early saves money and extends your car’s life substantially.
Your first defense against corrosion starts with regular washing. Your car needs a wash every 7–10 days during winter. Pay extra attention to the undercarriage where salt builds up the most. The two-bucket method gives your vehicle the best chance against winter’s harsh assault and prevents scratches while removing salt.
Waxing or ceramic coatings create an extra barrier of defense. These treatments keep your paint safe from salt’s corrosive effects. Ceramic coatings last longer and shield better than traditional wax, though they cost more.
Your car’s most vulnerable areas need undercoating protection. This layer keeps salt away from vital parts like brake lines and suspension components. The choice between rubberized or oil-based products depends on your vehicle’s age and condition.
Paint protection film services give your car an almost impenetrable shield against salt damage. It costs more than other options, but its self-healing properties and multi-year lifespan make it a solid investment to think over for valuable vehicles.
Your driving habits are a vital part of preventing salt damage. Stay away from puddles and freshly salted roads when you can. Park in a garage if one is available. These simple steps reduce your car’s exposure to corrosive elements substantially.
Regular checks catch small issues before they turn into expensive repairs. Look for early signs of rust, check brake lines and suspension parts, and fix paint chips right away. Quick action stops corrosion from spreading throughout your vehicle.
Winter salt damage might seem unavoidable, but you can protect your investment. Good care and maintenance help your car stay salt-free and rust-free year after year. Start these protective steps today — your future self and wallet will be grateful.