If you’re looking to give your vehicle that exceptional shine and protect its paint, paint protection film (PPF) may be a great choice. PPF comes in multiple grades as well as finishes, including clear, matte, satin, tinted and even colored PPF. However, as a general rule of thumb, your PPF experience will only be as good as the team that applies it to your vehicle. In fact, installing PPF is a very detailed process that must be done correctly by trained professionals. Here’s a look at the proper way to install PPF on a vehicle.
INITIAL INSPECTION PRIOR TO EXTERIOR WASH
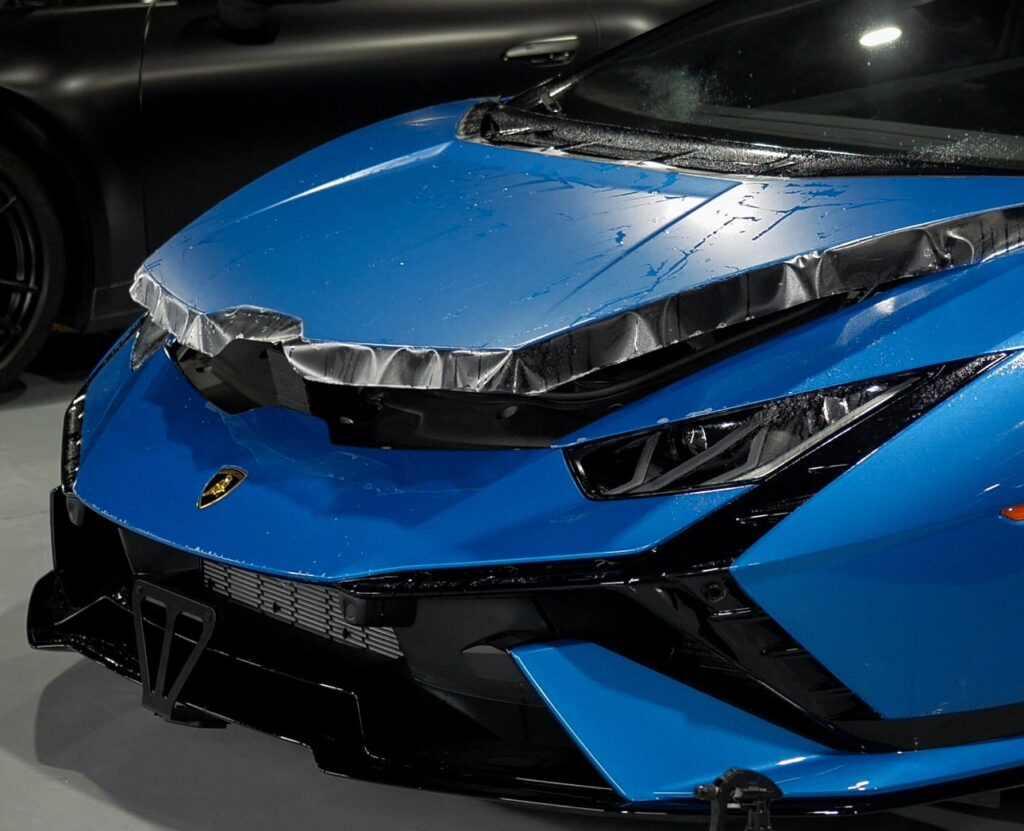
Before the vehicle is to be washed, it should be carefully inspected to check for any paint damage or other anomalies. Various “problem areas” are inspected up close in order to ensure that both the paint, as well as clear coat are in the right condition to install PPF. Once this step is complete, the vehicle goes to the wash bay.
DEEP EXTERIOR CAR WASH
Washing the vehicle prior to PPF Installation happens in a couple of stages. Before the vehicle is washed, the proper equipment is needed. Ideally, one would want to use a soft mitt in order to wash the vehicle without causing any swirl or scratch marks on the paint. The mitt should be carefully rinsed with clean water before it is used for the wash. Also, there should be several microfiber cloths available in case any areas need to be wiped down. Regular towels may cause scratches or swirls that could adversely affect the appearance of the vehicle’s exterior.
The vehicle’s exterior should be washed with either soap or a mixture of water and detergent. It is important that the vehicle’s paint is clean of any dirt, dust, tree sap, bird droppings or any other airborne contaminants. The vehicle should be wiped down with a sponge mitt carefully to avoid any scratches.
Once the vehicle is washed, it should be rinsed down with clean water. After that, the exterior should be carefully inspected to make sure that the surface is completely clean of contaminants.
CLAY BAR THE ENTIRE CAR
If there are especially stubborn contaminants on the car, then a clay bar should be applied to the surface. Clay bar is an engineered resin mixture that is designed to remove contaminants and pollutants from the surface of a vehicle. First, a clay bar lubricant should be applied. Afterward, the clay bar resin is applied to the surface. Following this, the area is wiped with a microfibre cloth. This process should be completed on all affected areas of the car.
In some cases where paint imperfections are deeper than the first layer of the clear coat, a 1-stage or 2-stage polish may be required. Remember, any imperfections deeper than the first layer of your clear quote may be magnified once PPF is installed over them. So, it’s important to have as smooth of a finish as possible.
AIR DRYING WITH PRESSURIZED AIR
It is important that the vehicle is air dried to ensure that no contaminants invade the vehicle after a wash. When the vehicle has been completely air dried, then it can be ready for disassembly.
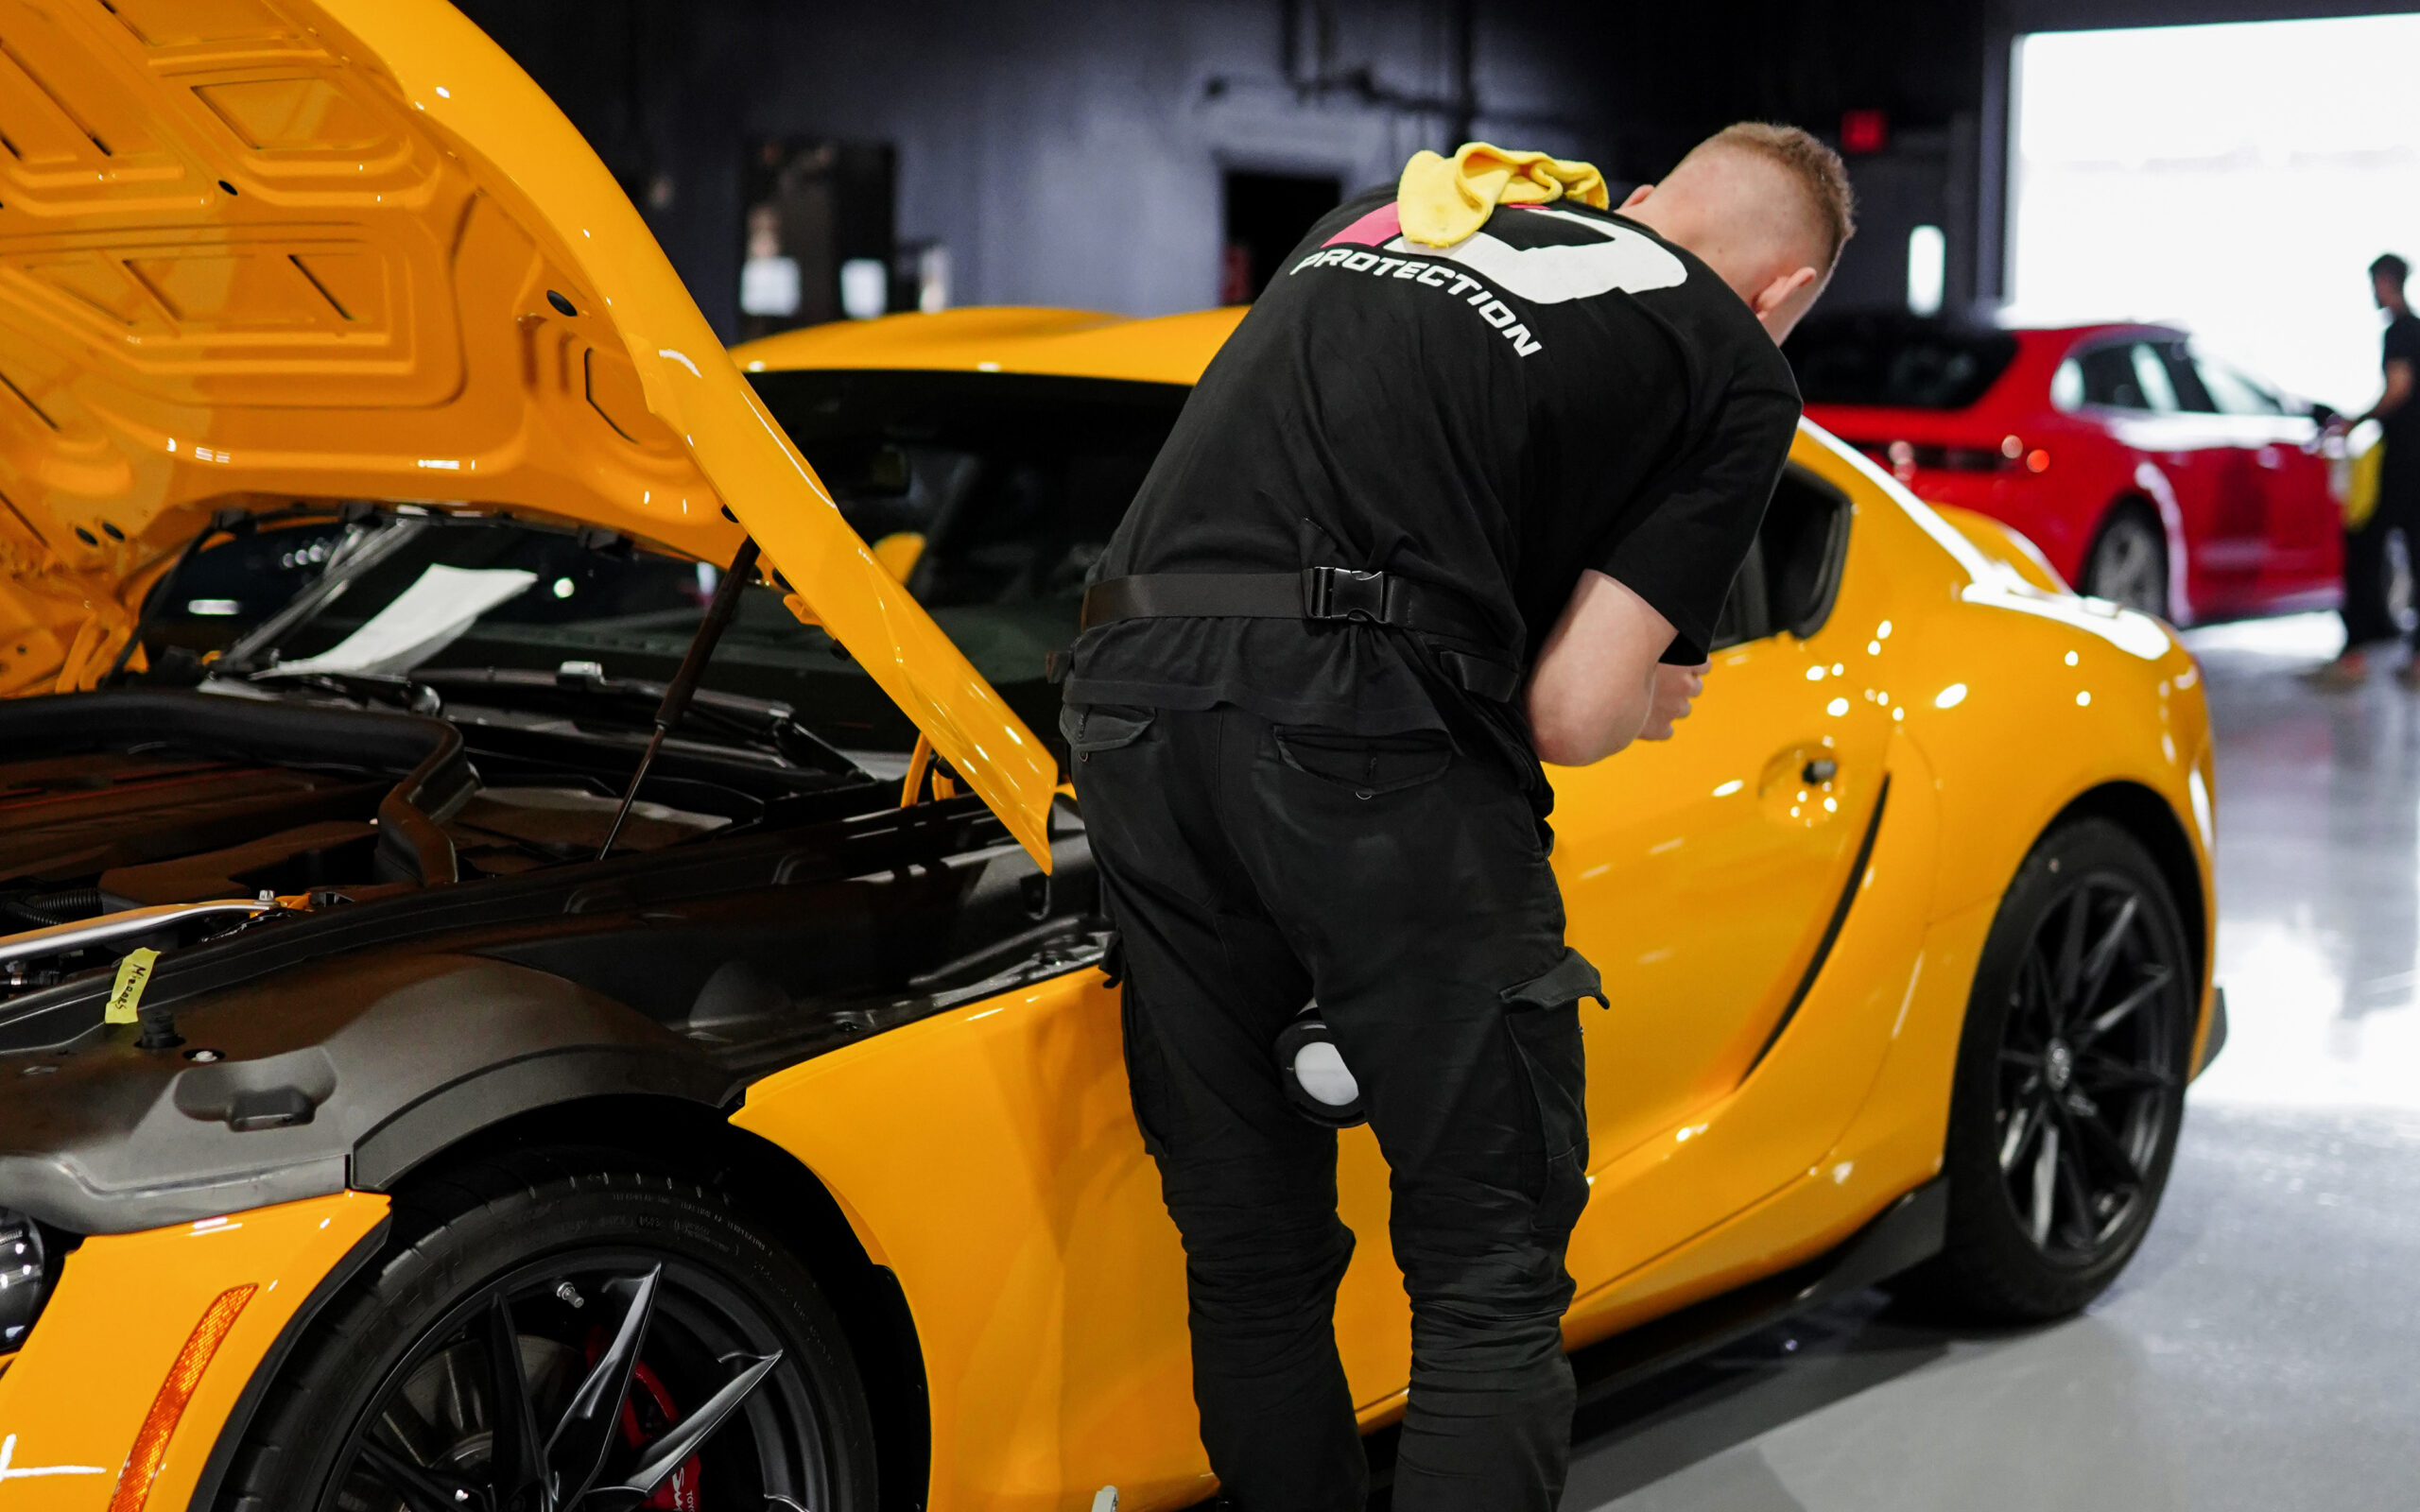
DISASSEMBLY OF PANELS BEFORE WRAPPING
Vehicle panels should be removed when possible and practical to do so. During this process, it’s important to ensure that a clean and safe area is designated to place the panels.
CLEANING PANELS WITH ALCOHOL BEFORE WRAPPING
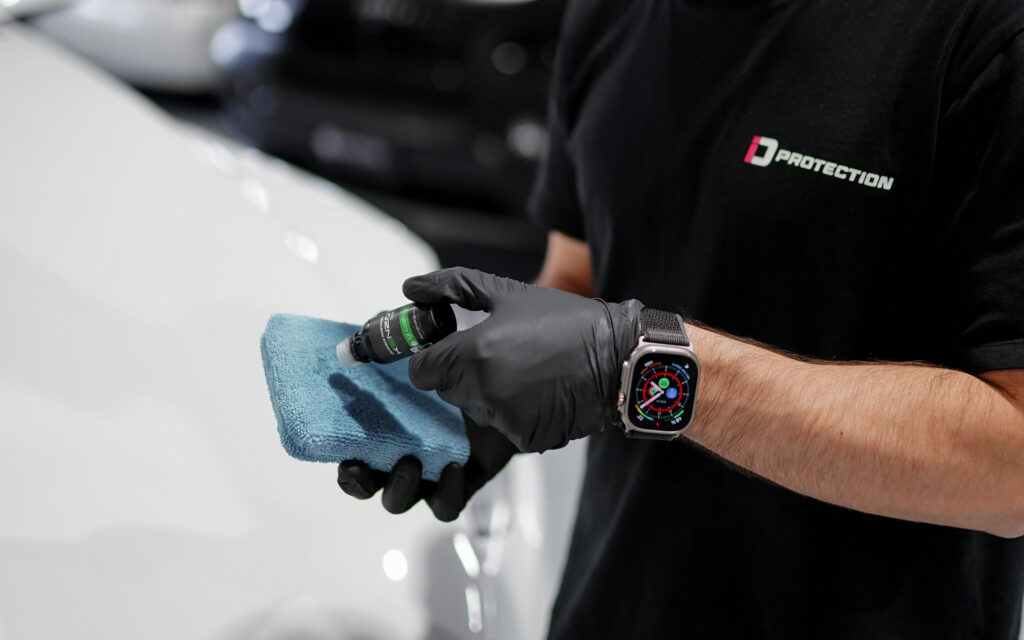
Once the panels have been disassembled, they should be cleaned with alcohol before the PPF is applied to reduce any fingerprints. The alcohol can be applied with a microfibre cloth and then air dried.
PREPPING THE CAR BEFORE PPF INSTALLATION
Before any application of PPF can take place, the vehicle itself must be cool to the touch. That means that the hood cannot be hot due to a recently running engine. In extreme weather, it’s recommended to keep the vehicle parked in a covered area or inside a climate-controlled area the night before a PPF installation.” Also, the PPF prep and application itself should take place in a climate and humidity-controlled area, as specified by the given PPF manufacturer.
APPLYING THE PPF
Now the PPF is ready to be installed. The PPF should be sprayed with a water-based solution while removing the backing. It is important that the adhesive side is never touched during the process. Afterward, the film should be laid on the vehicle’s body. When the technician is satisfied with the location, the film is then sprayed with the fitting solution so the squeegee can slide easily against it. The squeegee process should continue until all air bubbles are removed. After the PPF has been installed, a heatgun may be used to warm the film and ensure the ideal adhesion.
REINSTALLATION OF PARTS & PANELS
After the PPF has been installed and the film has dried and adhered itself to the panel’s surface, reassembly can take place. The technicians should use gloves to ensure that the panels remain in pristine condition throughout the application process.
POST-INSTALLATION INSPECTION(S)
Once the Paint Protection Film is installed on a vehicle, a detailed inspection procedure must be performed both directly after installation, then once again after drying (typically 12-24 hours depending on temperature and humidity), and once again 7-10 days after installation.
If any minor issues, such as film lifting or minor bubbling are caught within this initial period, if fixed by a professional – they will likely never reoccur for the lifetime of the film.
GET EXPERT PPF INSTALLATION AT ID Protection®
Looking for the best PPF installation in the Toronto, North York, Vaughan, Oakville, Burlington, Woodbridge, Mississauga and surrounding area? Then look no further than ID Protection®. We are the top choice for car collectors and enthusiasts in the area. We offer a wide range of PPF options in a variety of finishes. Contact us today for a fast quote on your vehicle.