PPF, or Paint Protection Film, is a transparent and thin layer of film that is applied to a car’s exterior to protect the car’s paint surface from physical (scratches, chips, impact, etc.) and chemical (bird droppings, sap, acid rain, etc.) damage.
Installing PPF to protect your car’s paint job and exterior can provide many benefits for you as a car owner: it will keep your car’s finish in pristine condition for longer and can help you maintain or even increase the resale value of your vehicle. PPF can even help to prevent major damage to your car in the event of minor accidents and collisions.
However, if you’ve invested in PPF to protect your car, unfortunately, it’s not a permanent solution, and eventually, sooner or later, it will need to be removed and replaced.
Here are a few potential reasons:
- Changing the car paint’s color. You will need to remove the PPF first, repaint, then replace the PPF
- Apply a new coat of sealant or wax for additional protection
- The most common reason, the PPF is damaged and needs to be replaced
- It’s a common practice to remove the PPF to make the car looks newer when selling your car, which may increase its resale value
No matter what the reason, it’s important to remove the PPF properly, or the removal process may damage your car.
In this article, we will discuss all you need to know about how to remove PPF from your car. We will walk you through the proper steps in the process of removing your PPF, along with some actionable tips to help you avoid damaging your car.
Without further ado, let us begin.
Reasons for Removing PPF
Above, we have briefly discussed the common reasons why car owners may want to remove their PPF, but in this section, we’ll delve further into the topic.
In general, most PPF applications can last for at least several years, but eventually, they will need to be removed and replaced. Here are some of the most common reasons:
- The PPF is old and cracked. Unfortunately, PPF isn’t permanently durable, and over time it can become brittle before eventually cracking. Not only may cracked PPF ruin the aesthetics of your car, but it can also allow dirt and debris to get under the PPF’s surface and scratch the car’s paint.
- Reduced protection: PPF’s protective qualities can eventually wear away when it’s frequently exposed to extreme temperatures, harsh weather conditions, or harsh environments. When the PPF has lost its protective qualities and no longer provides adequate protection for your car’s exterior, it’s best to remove and replace it with a new PPF.
- Changing the color of your car. If you decide to repaint your car with a new color, unfortunately, you’ll need to remove the PPF first before you can apply the new colored PPF.
- Removal before selling your car: you may want to remove your PPF before selling your car, especially if the PPF is no longer in its pristine condition, so the car will look better. Sometimes the new owner may also want to choose their own PPF or coating.
Potential Challenges in Paint Protection Film Removal
While, as we have discussed, the removal of your PPF might be a necessity, there can be a few potential challenges that may be involved in removing the PPF from your car’s surface.
Some of the most common challenges are:
- Older PPF can be hard to remove: the older film that has become brittle and cracked can be very difficult to remove, and you may need to use a heat gun or other specialized tools first to loosen the PPF before you can remove it. As a result, the removal process can be time-consuming and labor-intensive.
- The film may be stuck to the car’s paint: if the PPF is not removed carefully, it can take some of the car’s paint when the film is peeled off in larger pieces. As a result, the paint can be damaged, leaving unsightly marks that may also lower your car’s resale value. It may be necessary to use a specialized lubricant to help loosen the PPF that has been stuck to the car’s paint.
- Improper removal may leave behind adhesive residue: sometimes, even after the PPF has been removed properly and carefully, it may leave behind a residue of its adhesive materials, which can be unsightly and difficult to remove (it may require a strong and expensive adhesive remover.) Even worse, the presence of this adhesive residue can make it more challenging to apply a new PPF.
It’s important to be aware of the potential challenges that may be involved in removing the PPF from your car. Taking the necessary precautions can help minimize the risk of damaging your car’s exterior and ensure the removal process is efficient and cost-effective.
In the next section, we will share a step-by-step guide to the proper PPF removal process so you can effectively tackle these challenges.
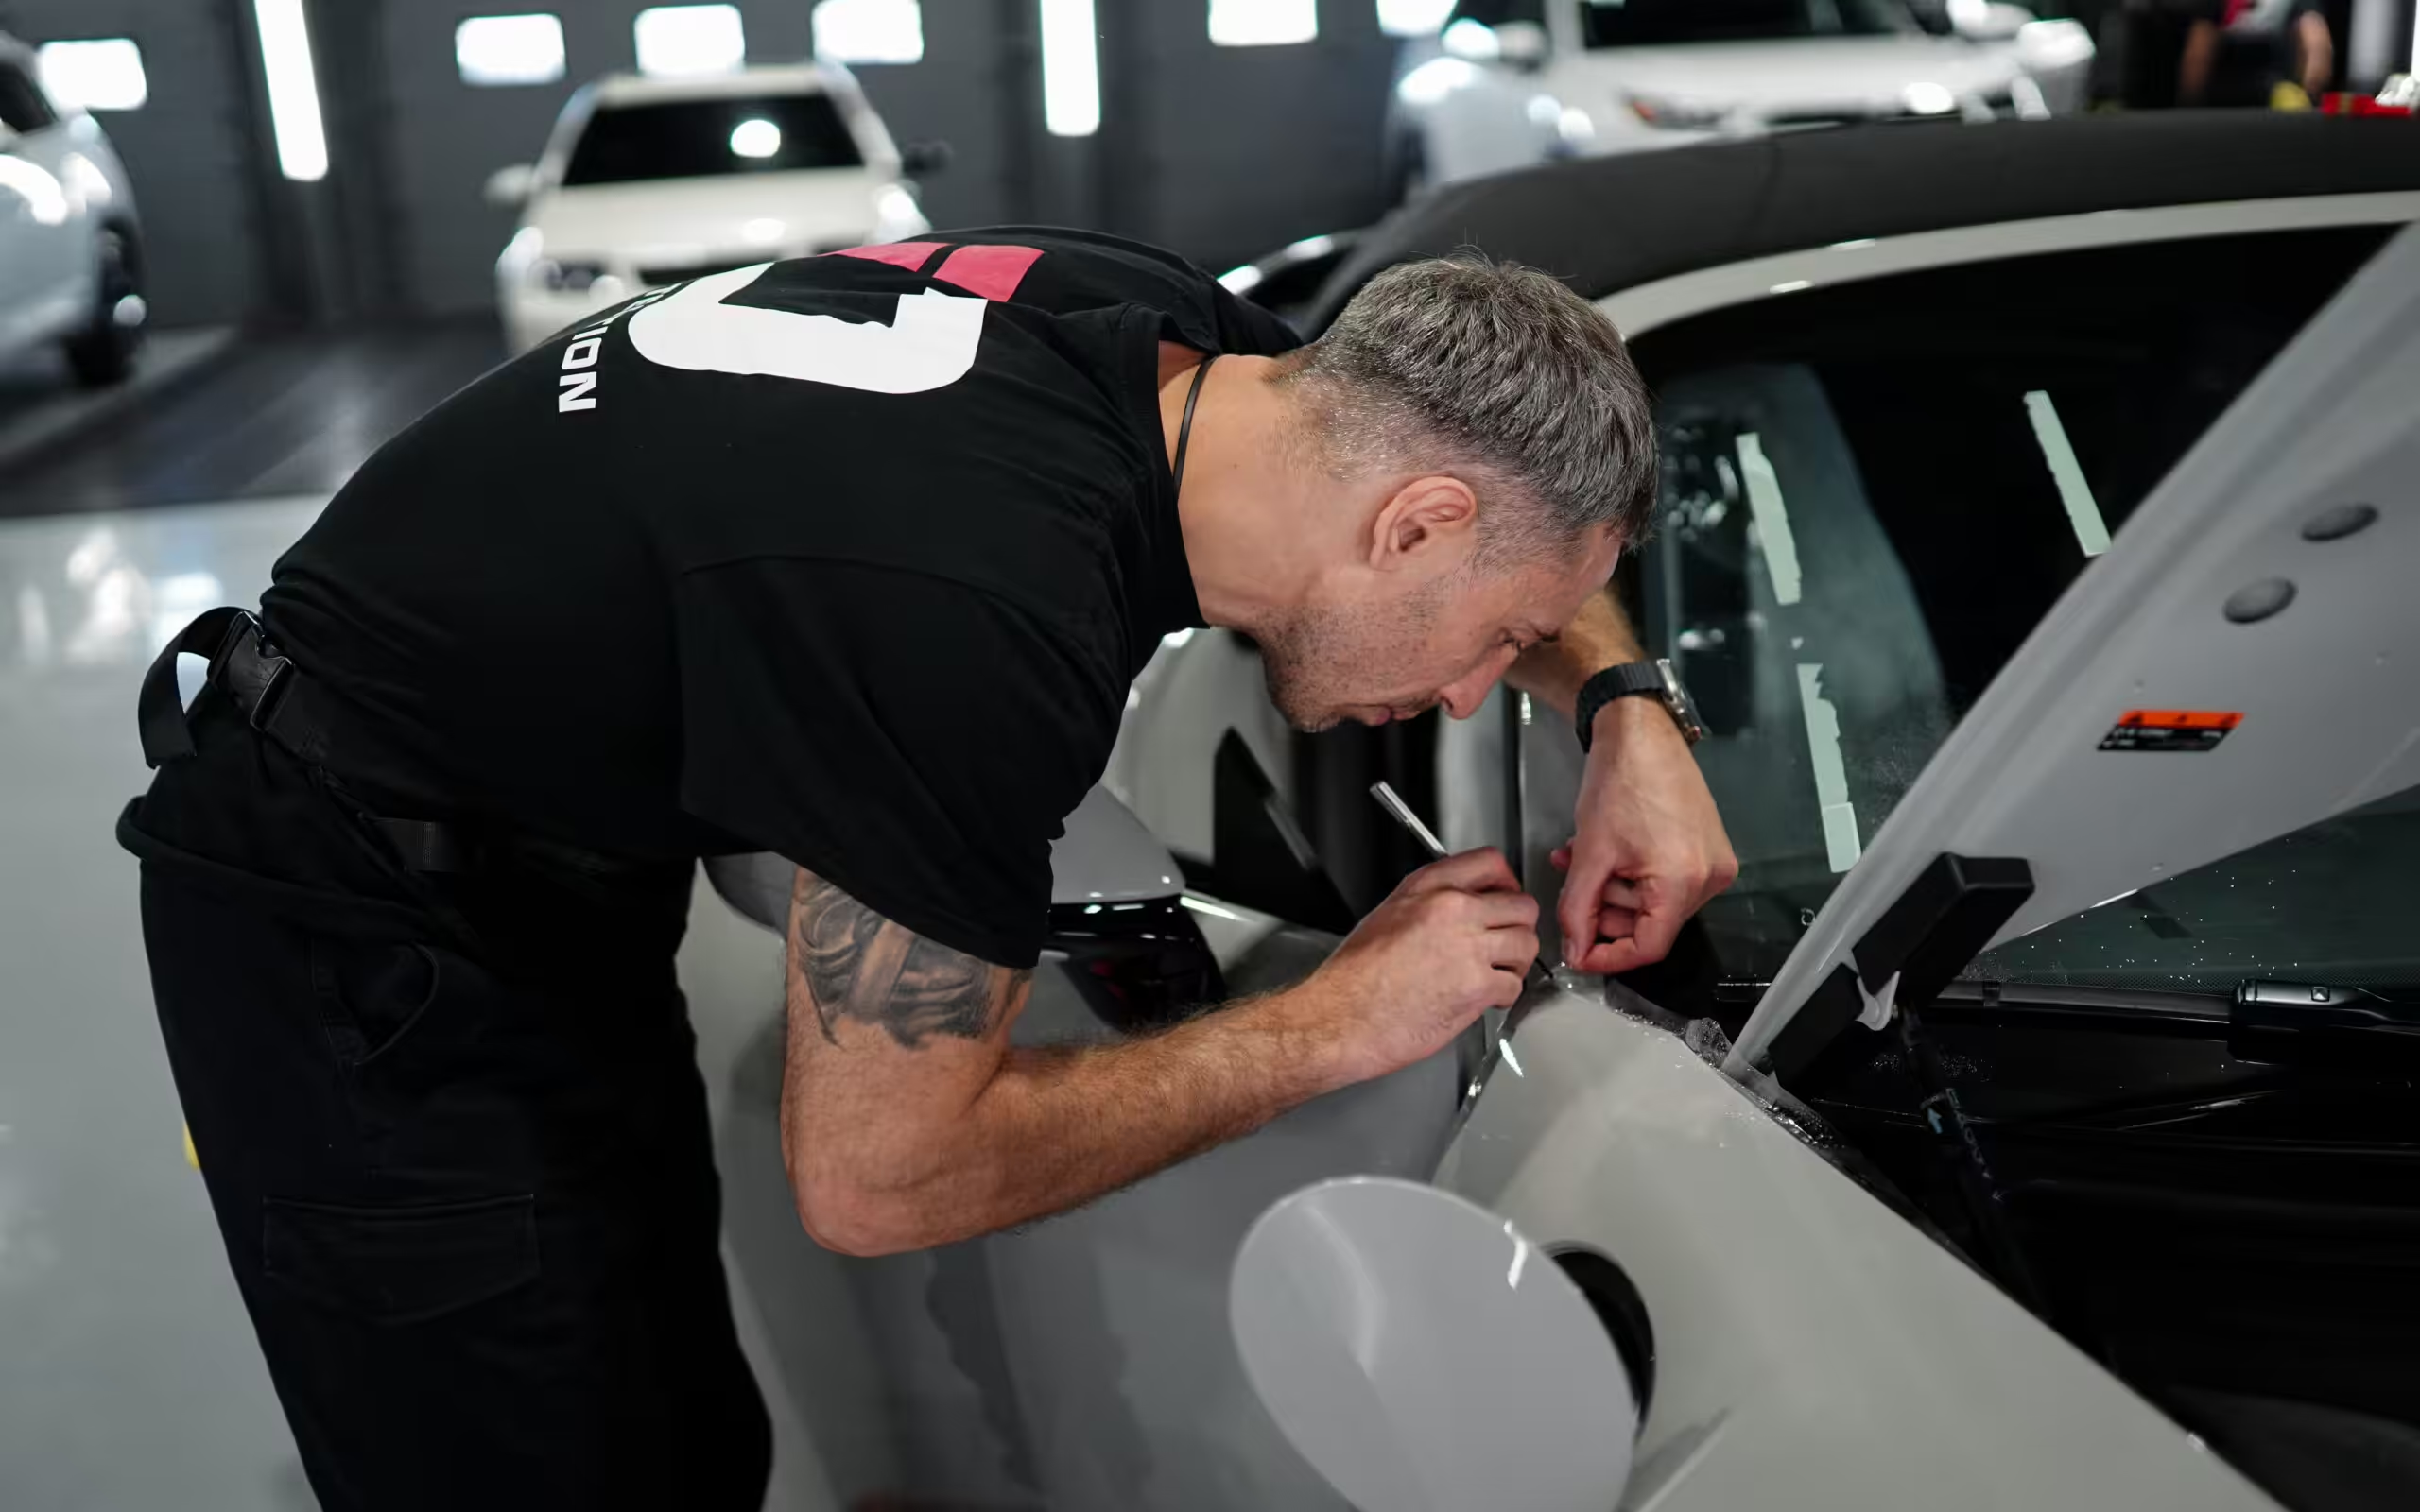
Step-by-Step Guide to Complete and Proper PPF Removal
Step 1: Prepare your tools
Before anything else, prepare the tools, materials, and equipment you’ll need to remove the PPF.
While you may need different tools and equipment based on your PPF’s current condition, here are the basic tools you’ll need in most cases:
- Heat gun
You’ll mainly need the heat gun to heat and loosen the PPF’s adhesive, which may otherwise be left sticking on the car’s paint.
When using the heat gun, make sure to set it to a low setting not to damage the car’s pain underneath the PPF. Also, choose a heat gun with a wide nozzle so you’ll have an easier time heating the car and the PPF more evenly.
- Adhesive remover
You’ll use the adhesive remover to remove any adhesive residue (that has been loosened by the heat gun) left on the car after the PPF has been removed. If possible, use an adhesive remover that is specially designed for car paint. If not, make sure it’s strong enough and safe for the car’s paint.
- Plastic scraper
You’ll use the plastic scraper to scrape and loosen the PPF so you can more easily peel it off the car’s surface.
Make sure not to use a sharp plastic scraper that could scratch or damage your car’s paint. Also, make sure the scraper is flexible enough so it’s easier to loosen the PPF with it.
- Rags
Pretty self-explanatory, you’ll use rags or cloth to clean the car’s paint after the PPF has been removed. You may also need the rags to wipe away the adhesive remover if you use it.
It’s best to choose rags that are lint-free, so you won’t have any lint left behind on the car’s paint after wiping it. Also, choose rags that are large enough so you can clean the car’s surface more effectively.
- Gloves
Again, pretty self-explanatory, you’ll need a pair of gloves to protect your hands from adhesive remover, the heat of the heat gun, and other potentially hazardous materials you may be exposed to. Choose a pair of gloves that are thick enough to protect your hands but still comfortable enough to wear.
- Safety glasses
For protecting your heat mainly from the heat gun’s heat but also from dust and flying debris. Choose a pair of glasses that fit properly over your eyes so they can protect your eyes properly while being comfortable enough.
Step 2: Clean with soap and water
Before you start removing the PPF, clean the PPF and the surrounding area with soap and water. This can help remove dust, debris, or dirt that may disrupt the removal process.
Wet a rag with a mixture of mild soap+water, then wipe down the area around the PPF. Be sure to clean the whole area thoroughly, then rinse it off with clean water. Dry the PPF with a clean (and dry) rag.
An important consideration here is to only use a mild an pH-neutral soap to clean the PPF and the area around the film. Mild soap is less likely to damage the car’s paint and typically won’t leave any residue behind. Make sure the soap doesn’t contain harsh or abrasive chemicals.
Some additional tips:
- Use soft rags or cloth, so you won’t accidentally scratch the car’s paint
- Do not over-scrub. Over scrubbing the PPF and the surrounding area may also damage the car’s paint.
- It’s very important to thoroughly dry the whole area after rinsing it thoroughly. This will prevent water spots from forming on the car’s paint.
Step 3: Heating the PPF to loosen it
Once you’ve cleaned the PPF and the area around the film, the next step is to heat the PPF with a heat gun until it becomes pliable. When the PPF surface is getting softer and easier to move around, you’ve heated it enough.
An important note is not to overheat the PPF, which can damage the car’s paint underneath it. So:
- Use a heat gun that can be set to a low setting. It may take longer to heat the PPF with the low setting, but it will be much safer.
- Make sure to heat the film evenly. Using a heat gun with a wider nozzle would help. Move the heat gun back and forth regulary to heat the film evently, and to prevent it from overheating the PPF in one spot.
- Make sure to wear protective glasses and gloves when heating the PPF to protect your hands and eyes from the heat.
- Be patient. It may take some time to heat the whole PPF layer evenly to loosen it thoroughly.
Step 4: Use a plastic scraper to loosen the PPF
Now that the PPF has been loosened and is more pliable after heating, you can use a plastic scraper to further loosen the PPF from the car’s paint.
Be extra careful when working with the plastic scraper. It’s okay to be patient and work slowly so you don’t tear the film and/or damage the car’s paint.
Carefully insert the plastic scraper under one edge of the film and gently lift it up, separating the PPF from the car’s surface. Once the PPF is loose, peel it off further from the car’s surface, but be careful not to damage the car’s paint.
Some additional tips:
- It’s important not to use a sharp plastic scraper, so you don’t scratch the car’s paint and exterior.
- Be patient and try to work evenly. Avoid prying the PPF off too forcefully or hastily, which may cause damage to the car.
- If you encounter any areas that are specifically hard to peel off, use lubricant or adhesive remover to loosen this area (more of these later.)
Step 5: Peeling the PPF off the car’s surface
Now that the PPF is loose after the scraping, you should peel it off the car’s surface.
It’s best to start peeling the film at one corner, then work your way around the entire PPF surface. When doing so, be careful not to tear the film, which may make it difficult to peel the rest of the PPF.
However, if the film tears, do not panic. Be patient and try peeling the PPF again. You may need to repeat heating it with the heat gun and using the plastic scraper again before you can peel the torn PPF.
It’s okay to work slowly rather than forcing to hasten the process and end up tearing the film, which may require you to repeat heating the PPF yet again, slowing down the overall process.
Step 6: Remove adhesive residue with adhesive remover
Once you’ve peeled off the PPF, check whether there is any adhesive residue on the car’s surface. Here are the steps on how to do it:
- Inspect: visually inspect the car’s surface and look for any areas where the adhesive residue is visible. Depending on the color of your car’s paint, it can be more difficult to see adhesive residue, and you may need the help of a flashlight and//or a magnifying glass to make the process easier.
- Feel: run your finger over the surface of the car. The adhesive residue is typically bumpy and rough, so feel the car’s surface for rough or bumpy spots. Also, check for sticky spots.
If you’ve identified any adhesive residue, use adhesive remover to remove it properly.
Here are some tips and best practices to do so:
- Choose the right product. There are many different types of adhesive removers available in the market. Make sure to choose one that will work with the specific type of adhesive the PPF is using and one that is safe for your car’s paint. PPFs typically use urethane or acrylic adhesive, with urethane adhesive being the most common.
- Test the adhesive remover first. It’s best to test the adhesive remover product in a small inconspicuous area of your car first. Once you’re sure it won’t damage the car’s paint, then you can try it in a larger area.
- Apply sparingly. If you are using the right type of remover, you’ll only need a small amount of remover to remove the residue. So, apply sparingly. Applying too much of this remover can damage the car’s paint and, in fact, can make it more difficult to remove the residue.
- Let it sit. After you’ve applied the adhesive remover (again, apply sparingly), let it sit for a few minutes to soften the adhesive residue.
Step 7: Wipe away the adhesive remover
Once you’ve softened the adhesive residue enough, use a rag or cloth to wipe away the adhesive residue and any remaining adhesive remover.
Some tips:
- Use a clean, lint-free cloth so that when cleaning the car’s surface, you won’t accidentally transfer the adhesive remover someplace else.
- Wipe the adhesive remover in a light, circular motion so you can more effectively remove the adhesive residue. However, do it gently so you don’t create swirl marks on your car’s paint.
- After wiping, rinse the area with water to remove any remaining residue.
Step 8: Wash the car’s paint
Now that you’ve removed the adhesive residue and the adhesive remover, wash the car’s surface with mild soap and water to clean it.
Some best practices to consider:
- Only use mild (pH-neutral) soap. Harsh and acidic soap that contains chemicals can damage the car’s paint
- Use a soft sponge or wash mitt to wash the car. Don’t use harsh materials.
- Use a small, circular motion to wash the car, but don’t push too hard on the car’s surface.
- Avoid washing your car in direct sunlight. The heat can cause the soap to dry too quickly, which may scratch the car’s paint. It’s best to wash your car in the shade.
- Do not use a pressure washer for this purpose, which may damage the car’s paint.
Wrapping Up
Although it may seem overwhelming at first, removing PPF (Paint Protection Film) from your car is actually a relatively easy process. With a few simple tools and supplies, you can quite easily remove your PPF by yourself at home.
By following the steps we’ve shared above, you can remove your PPF easily and safely.
If you are looking to install new paint protection film, don’t hesitate to contact ID Protection right away.
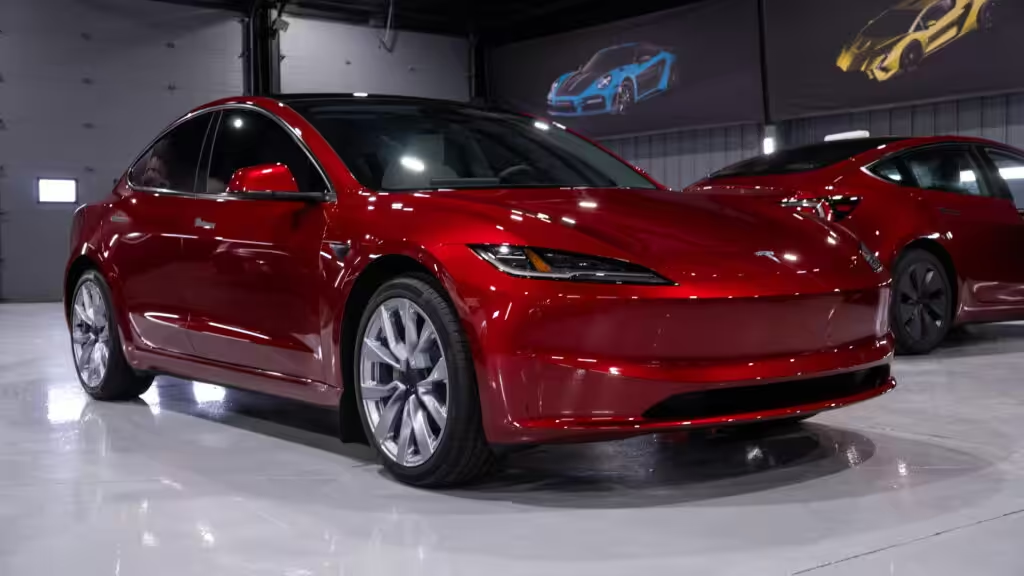
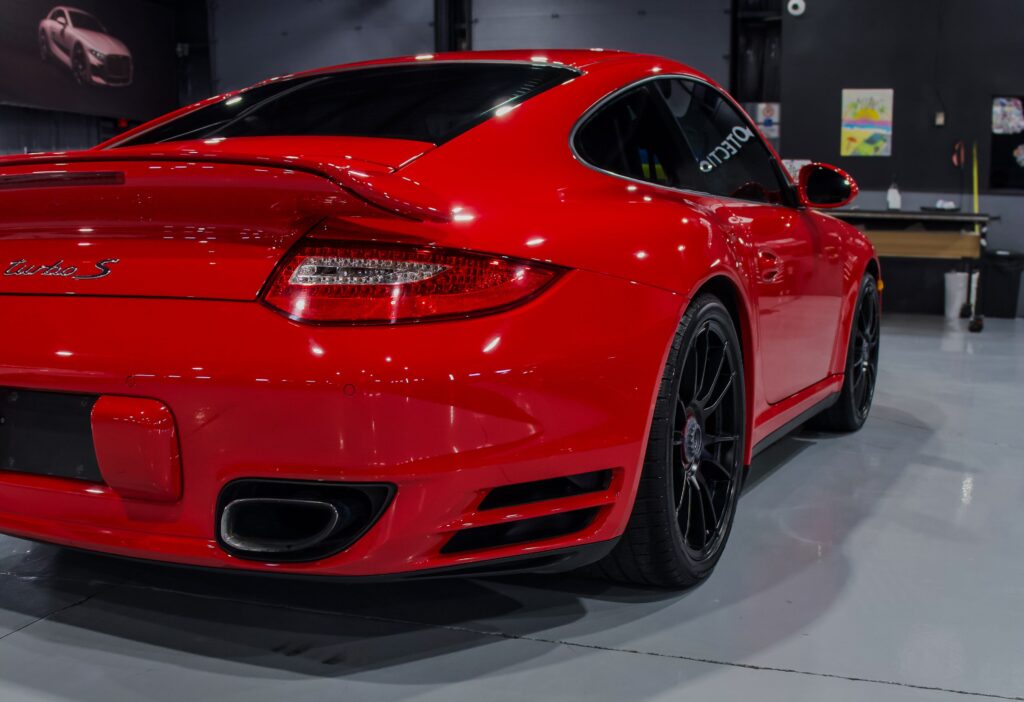
ID Protection offers PPF installation services in Toronto, Mississauga, Brampton, Markham, and other cities across the GTA. We provide a wide variety of films and protective coatings to choose from. Our excellent PPF installation services are available for all makes and models, including but not limited to Tesla, BMW, Mercedes, Audi, Porsche, and other makes.
Give ID Protection a call today to learn how they can help you protect your car’s exterior and interior and help you become an installer yourself with our paint protection film training.